Ref: Blender Essential Training
The Blender Interface
Navigating in 3D space
| Function | ShortCut Keys |
|---|---|
| Orbit Camera | Middle mouse click and drag |
| Toggle Zoom | Ctrl + Middle mouse click and drag |
| Toggle Pan | Shift + Middle mouse click and drag |
| View All/Center Cursor | Shift + C |
| View orthographic | Numpad 5 |
| Front View | Numpad 1 |
| Right View | Numpad 3 |
| Top View | Numpad 7 |
| Camera View | Numpad 0 |
| Toggle Right | Numpad 6 |
| Toggle Left | Numpad 4 |
| Toggle Up | Numpad 8 |
| Toggle Down | Numpad 2 |
| Toggle Quad View | Ctrl + Alt + Q |
Configuring user preferences
File -> User Preferences
System -> Compute Device: Change it based on your hardware
For laptop or you have no numpad, check Input -> Eumlate Numpad
Selecting and Translating Objects
Selecting objects
| Function | ShortCut Keys |
|---|---|
| Select Model | Right click |
| Select/Deselect All | Press A key |
| Border Select | Press B and drag |
| Circle Select | Press C and drag, use mouse wheel to adjust radius |
| Lasso Select | Ctrl + Click and drag |
| Inverse Select | Ctrl + I |
| Select Pattern | Bottom Menu -> Select -> Select Pattern |
Moving objects
Constrain to x/y/z axis when moving: press X/Y/Z key or using Gizmo
Also we can change view to constrain to a specific axis, e.g. In Top View, constrain to z axis
Rotating objects
| Function | ShortCut Keys |
|---|---|
| Rotate | Press R key or using Gizmo: Bottom Menu -> Rotate manipulator |
| Constrain to x/y/z axis when rotating | Press X/Y/Z key |
Scaling objects
| Function | ShortCut Keys |
|---|---|
| Scale | Press S key or using Gizmo: Bottom Menu -> Scale manipulator |
| Constrain to x/y/z axis when scaling | Press X/Y/Z key |
Understanding transform oritentation
| Oritentation | Meaning |
|---|---|
| Global | The default |
| Local | Aligns to the current slected model |
| Gimbal | Working with bones and that sort of thing |
| Normal | Aligns to the normal directiong of the surface. Mesh Modeling |
| View | Move things square to the camera |
Changing an object’s origin
Bottom Menu -> Object -> Transform
- Geometry to Origin
- Origin to Geometry: Centers to the object, exact center
- Origin to 3D Cursor
Selecting pivot point
Bottom Menu -> Pivot Point
| Way | Meaning |
|---|---|
| Bounding Box Center | Rotate all objects around the center of all objects |
| 3D Cursor | Rotate around the 3D cursor |
| Individual Origins | Rotate each object around its individual center point or origin point |
| Median Point | Like Bounding Box Center, but a little more sophisticated than that |
| Active Element | Rotate around the last object that you’ve selected. |
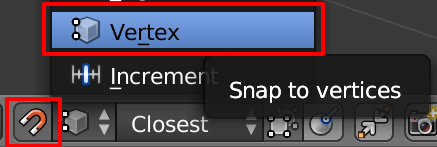
Using Snap to move objects precisely
Enable Snap by clicking Magnet icon on the bottom menu
The additional options:
- Volume
- Face
- Edge
- Vertex
- Increment
Modeling
Creating mesh primitives
| Function | ShortCut Keys |
|---|---|
| Toggle Edit mode | Press Tab key |
| Delete Selected | Press Delete key |
| Add Mesh Menu | Shift + A |
Selecting verticles, edges, and faces
Change select mode: Toggle Edit Mode -> Choose Vertex/Edge/Face select
| Function | ShortCut Keys |
|---|---|
| Toggle select mode | Ctrl + Tab |
A/B/C/Lasso Select is the same as the one in Object mode
Editing mesh objects
| Function | ShortCut Keys |
|---|---|
| Toggle Wireframe/Shaded mode | Press Z key |
| X-ray mode | Ture on “limit selection to visible“ (On the right side of Vertex/Edge/Face select) |
| Select More | Ctrl + “Numpad +“ |
| Select Less | Ctrl + “Numpad -“ |
| Select the whole ring edge | Win: Alt + Right Click Mac: Opt + Right Click |
Mesh Tools -> Shrink/Fatten
Proportional editing
Mesh menu -> Proportional Editing -> Enable/Conneted
| Function | ShortCut Keys |
|---|---|
| Toggle Proportional Editing | Press O key |
| Grab | Press G key |
| Confirm Edit | Click |
| Cancel Edit | Right Click |
Sculpt mode
Sculpt Mode -> Bottom Menu -> Brush -> Sculpt Tool
Sculpt Mode -> Bursh
Notice: Symmetry / Lock
Working with edges and edge loops
Mesh Tools -> Loop Cut and Slide
| Function | ShortCut Keys |
|---|---|
| Concatenate to the broken edges | Win: Shift + Alt + Right Click Mac: Shift + Opt + Right Click |
Extrusions
Mesh Tools -> Extrude Region
Mesh Tools -> Extrude Individual
Smooth shading objects
Object Mode -> Object Tools -> Shading: Smooth/Flat
Edit Mode -> Select Faces/Edges/Vertices -> Shadding/UVs Panel(Tab on the left panel)-> Shading
Subdividing meshes
Edit Mode -> Tools(Tab on the left panel) -> Mesh Tools -> Subdivide
Advanced Modeling
Working with modifiers
Select model -> Right menu bar -> Modifiers
Working with subdivision surfaces
Select model -> Right menu bar -> Modifiers -> Subdivision Surface

Creating a simple creature
Practise
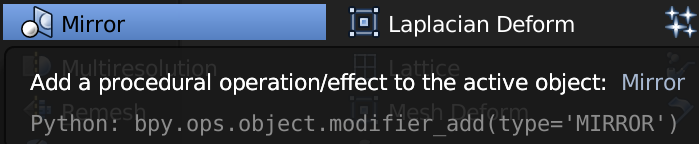
Symmetrical modeling with the Mirror modifier
Select model -> Right menu bar -> Modifiers -> Mirror
Joining mesh objects
| Function | ShortCut Keys |
|---|---|
| Join objects | Ctrl + J |
Stitching vertices
Using Snap(Magnet) to stitch vertices:
| Function | ShortCut Keys |
|---|---|
| Toggle Vertics Mesh Menu | Ctrl + V |
| Toggle Edges Mesh Menu | Ctrl + E |
| Toggle Faces Mesh Menu | Ctrl + F |
Vertics Mesh Menu -> Merge / Remove Doubles
Finalizing a simple creature
Sculpt Mode -> Brush -> Sculpt Tool -> Smooth
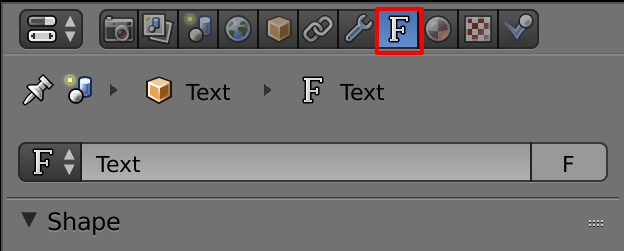
Creating text
Add Mesh -> Text
Text Properties:
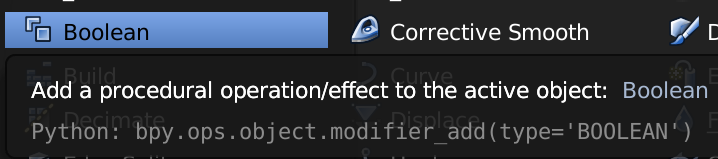
Boolean tools
Select model -> Right menu bar -> Modifiers -> Boolean
Vertex groups
Select model -> Data Properties -> Vertex Groups
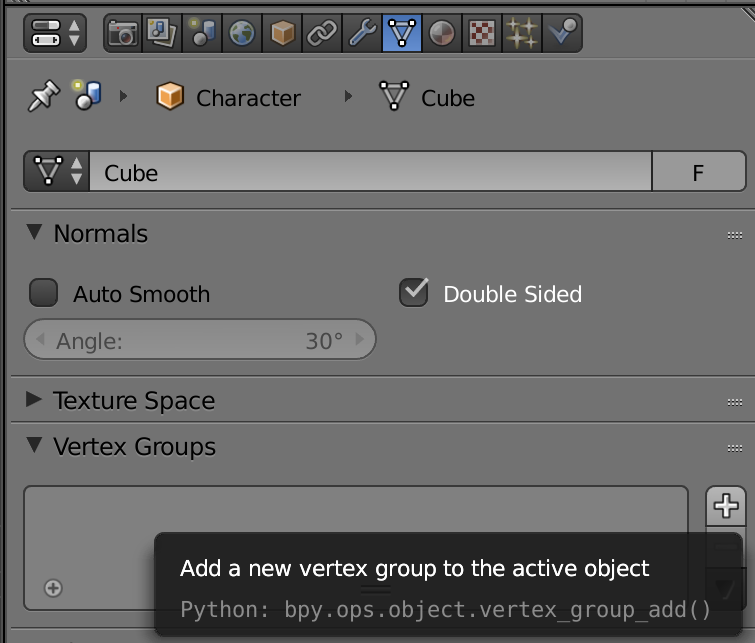
| Function | ShortCut Keys |
|---|---|
| Toggle Vertex Groups Menu | Ctrl + G |
Staying Organized
Using the Outliner
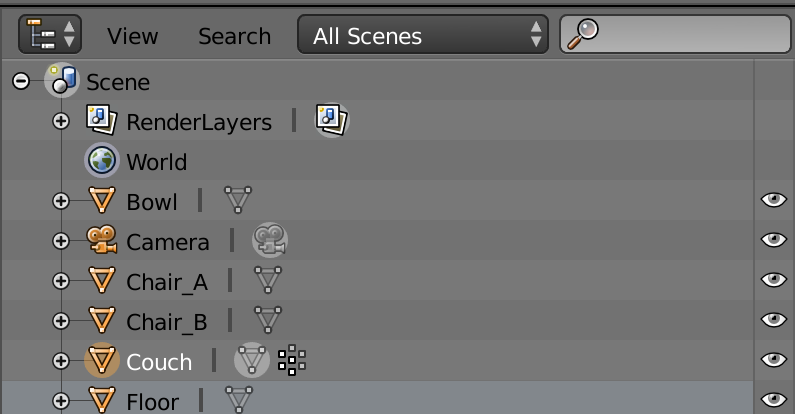
| Function | ShortCut Keys |
|---|---|
| Expand | Numpad + |
| Collapse | Numpad - |
| Show Hidden Object | Alt + H |
| Hide Selected Object | H |
| Hide Unselected Object | Shift + H |
Using layers
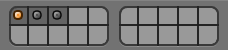
| Function | ShortCut Keys |
|---|---|
| Move to Layer | M |
Creating groups
| Function | ShortCut Keys |
|---|---|
| Create new group | Ctrl + G |
| Select grouped objects | Shift + G |
Working with scenes

| Function | ShortCut Keys |
|---|---|
| Render scene | F12 |
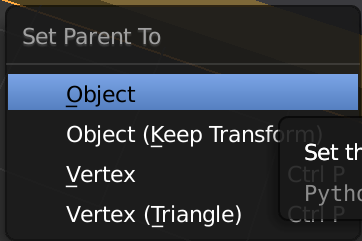
Creating hierarchies
| Function | ShortCut Keys |
|---|---|
| Make parent (The last selected one) |
Ctrl + P |
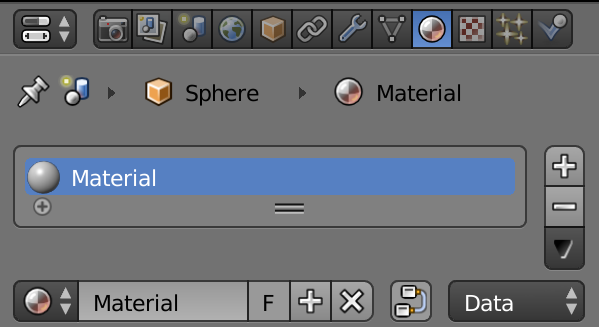
Applying Materials
Assigning materials to objects
Diffuse shaders
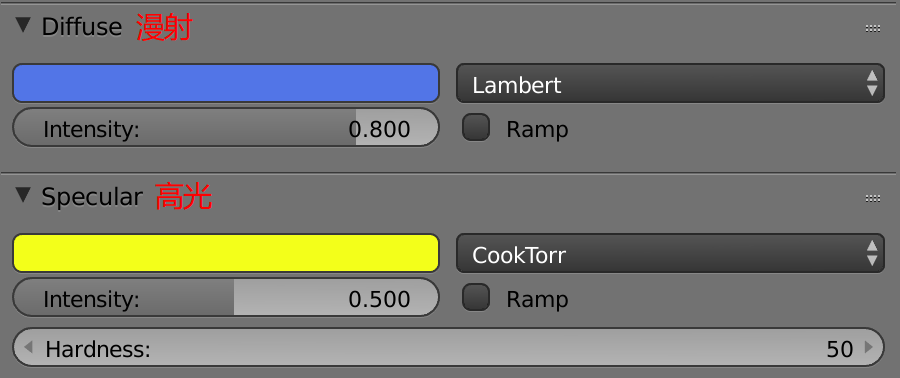
- Lambert
- Oren-Nayar
- Toon
- Minnaert
- Fresnel
Working with specularity
- CookTorr
- Phong
- Blinn
- Toon
- Wardlso
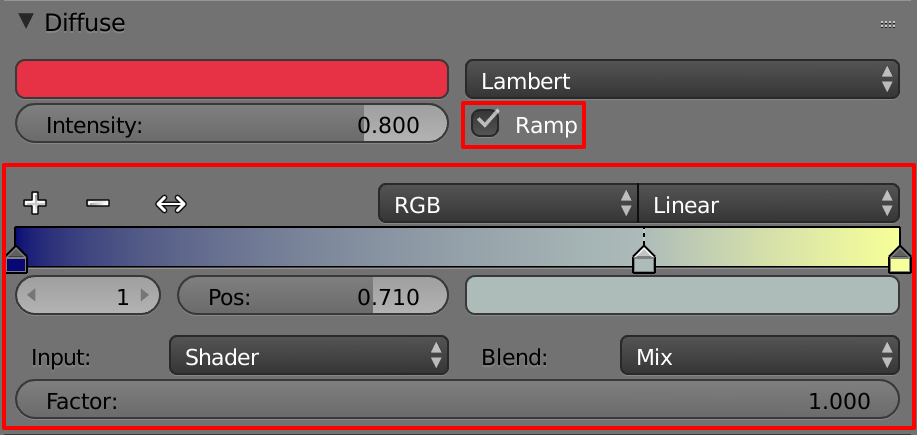
Using the Ramp Shader options
Ramps are basically a gradation of both color and transparency that can really transform the way that your materals look.
Additional shading options

Creating reflections

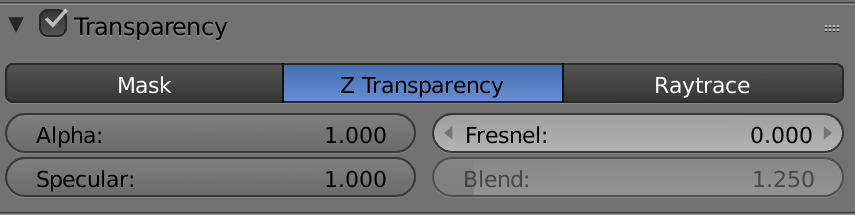
Adding transparency and refractions
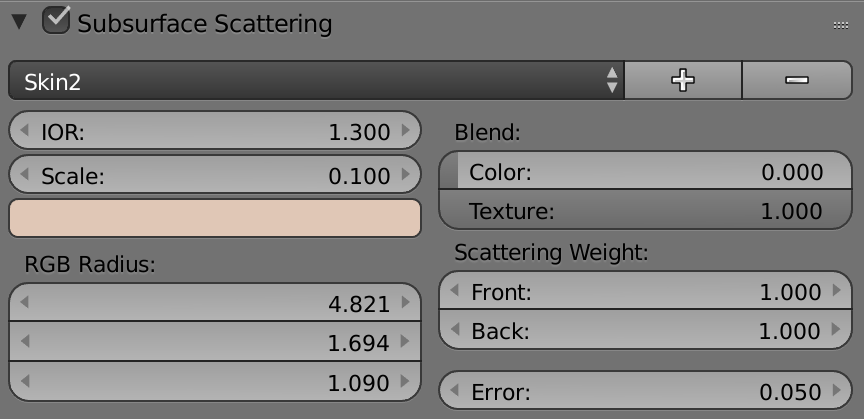
Subsurface scattering
次表面散射 Subsurface Scattering docs
Adding Textures
Adding a simple texture
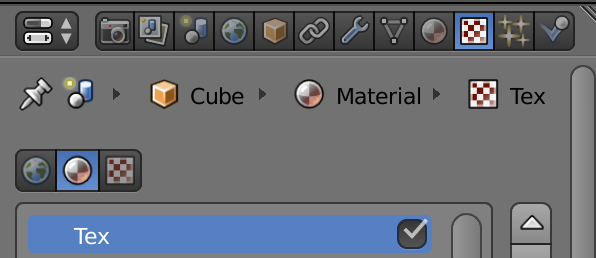
Using bitmaps
Image or Movie Type
Image Mapping -> UV
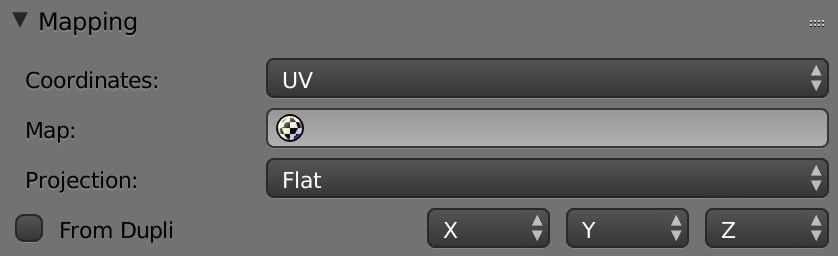
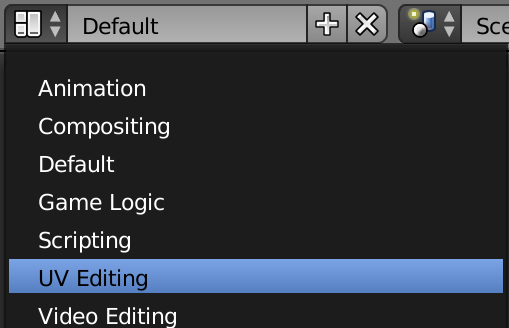
UV Editing:
Please notice that a material can have multiple textures
Mapping textures in the UV Editor
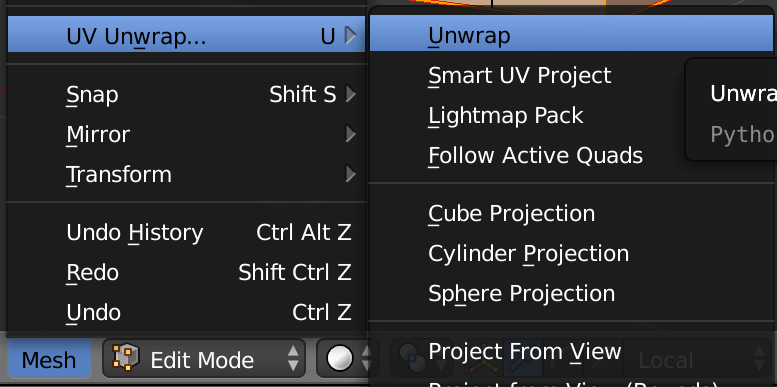
Mesh menu -> Edges -> Mark Seam
Mesh menu -> UV Unwrap -> Unwrap:
Using UV projections
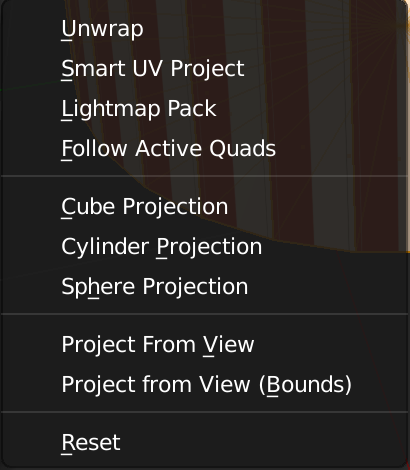
| Function | ShortCut Keys |
|---|---|
| Move projection | Island mode, right click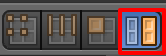 Or Press G |
| Scale projection | S |
UV mapping a character
Practise
Projected mapping is view dependent
Fine-tuning UV mapping
Creating Bump and Normal maps
Texture -> Infulence -> Geometry
With bump mapping, just remember that the light colors are what’s creating the bumps. Dark colors create no bumps.
Displacement mapping
Texture -> Infulence -> Displace
Bump mapping is a surface effect; It does not change the underlying geomerty. Displacement mapping, however, does, although you do need enough geometry to displace. With Subdivision surfaces Modifier’s help, we can easily add more geometry without too much overload.
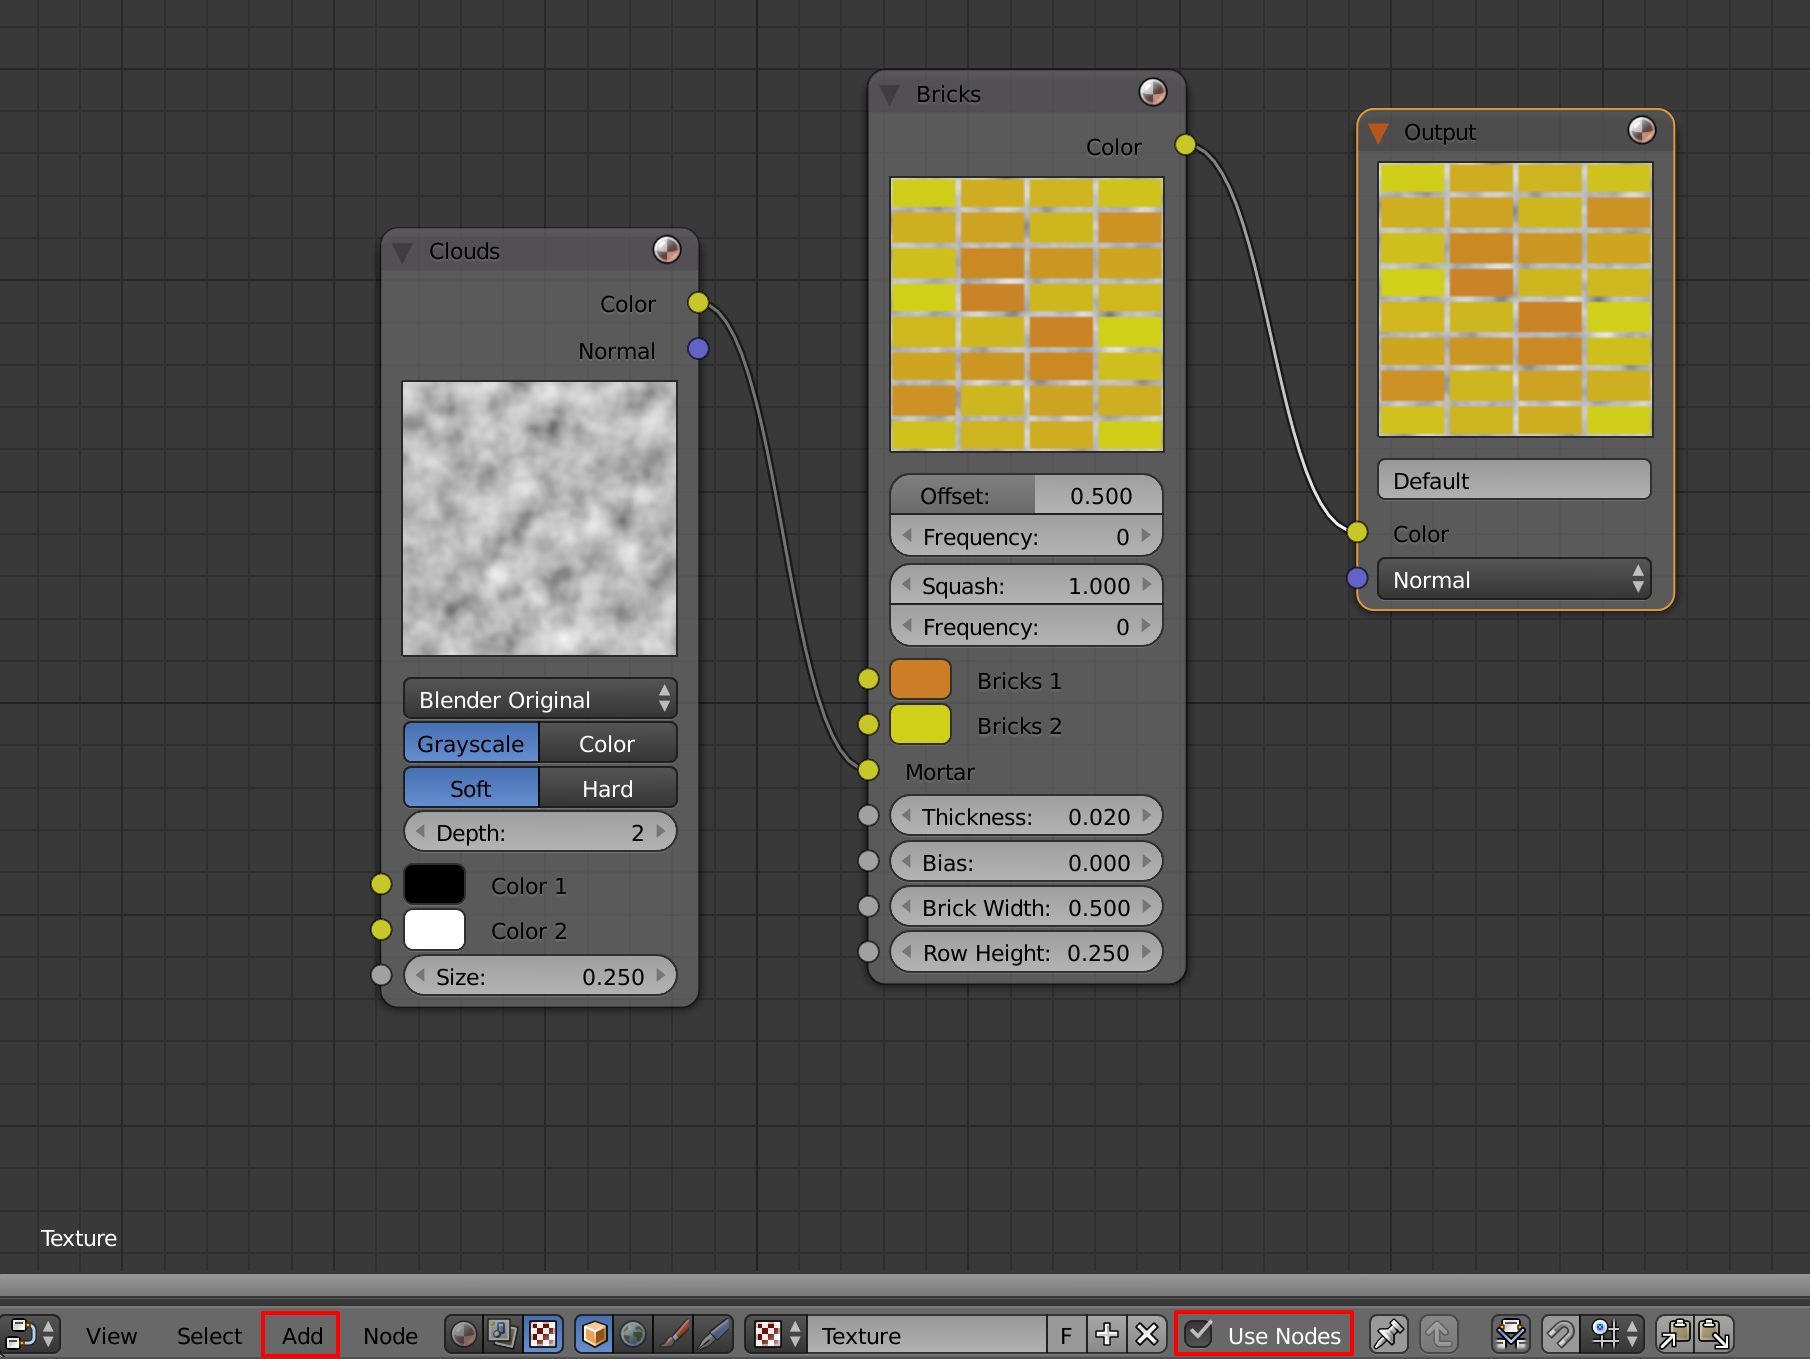
Using the node editor
Allow us to connect multiple textures together into a network of nodes that create more complex textures.
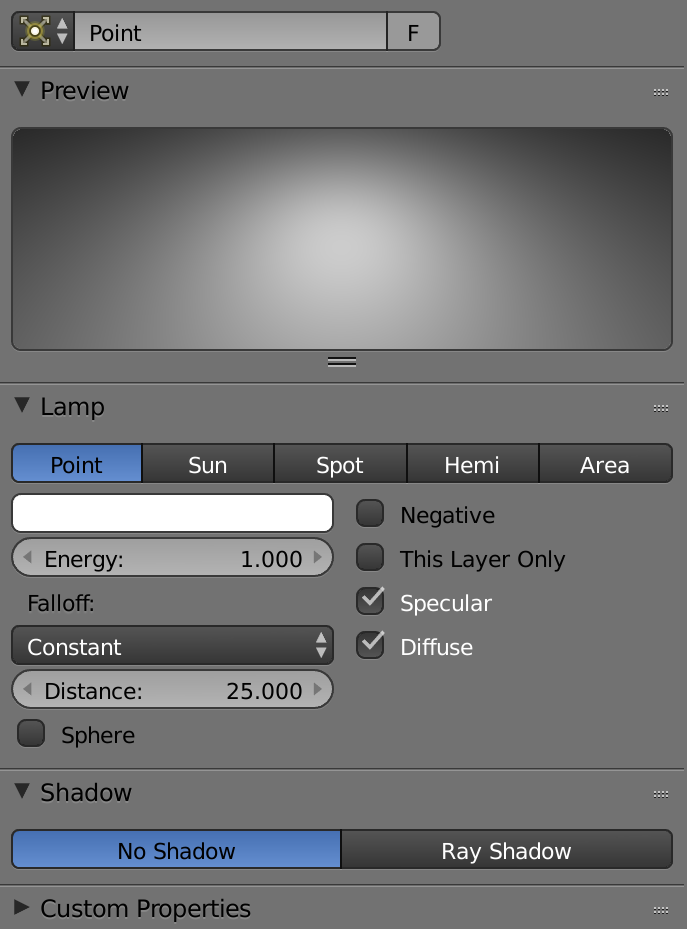
Working with Light
Adding lamps to a scene
Fine-tuning ray-trace shadows
Ray Shadow
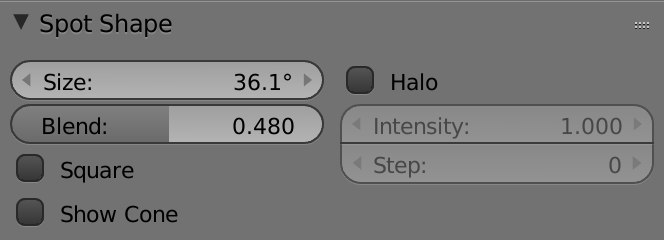
Using spot lamps
Fine-tuning buffer shadows
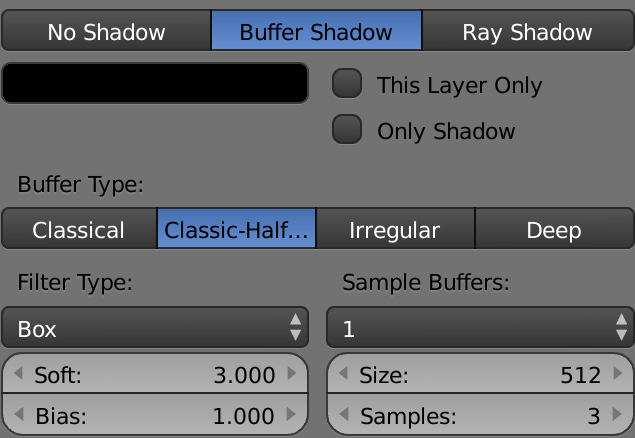
Buffer shadows are based on a bitmap, which means they render faster, particularly for soft shadows.
Using Hemi lamps
No position for source, just control the direction
Working with Area lamps
From a specific region, rather than a point or a source.
Creating sky and ambient light
Adding background images
Texture -> Image -> Influence
Creating sunlight
Basically works the same as the Hemi lamp, in that it is directional and not positional. On of differences between them, the Sun lamp can do shadows.
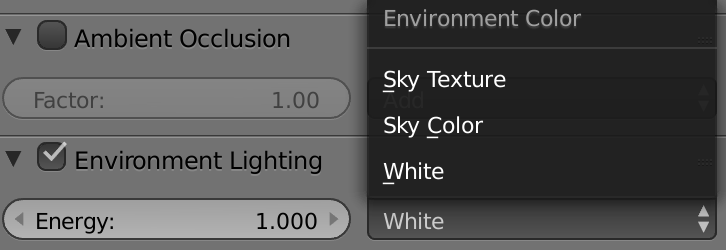
Ambient occlusion
环境光遮蔽


Ambient occlusion creates an overall ambient lighting, and we have two forms: we have ambient occlusion, which is just a simple color or if we want to have more complex lighting, w can use Environment Lighting.
Cameras and Rendering
Working with cameras
Creating camera targets with constraints
Constraints -> Add Object Constraints -> Damped Track
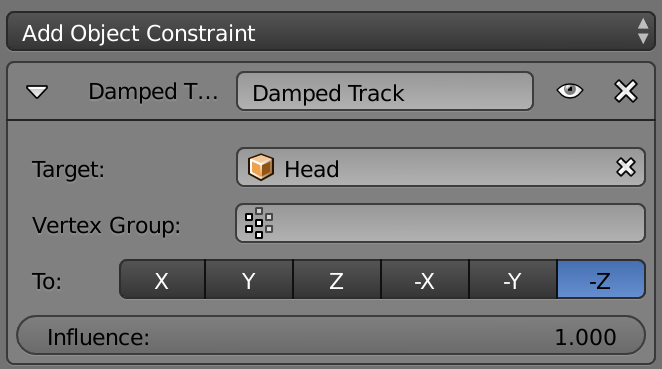
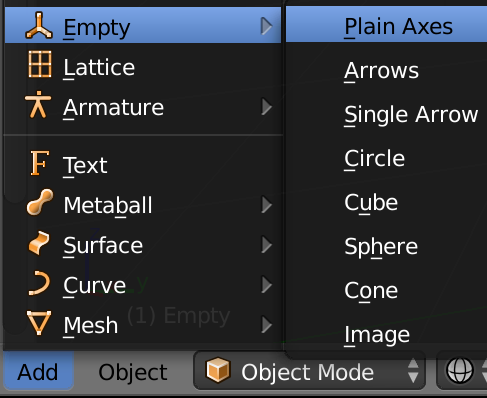
Add empty object(Object Mode, Add -> Empty -> Plain Axes) as target obj:
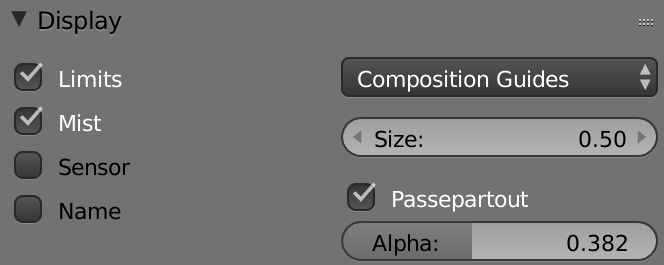
Render properties
- Display
- Dimensions
- Anti-Aliasing
- Shading
- Performance
- Output
Rendering animation
| Function | ShortCut Keys |
|---|---|
| Render Animation | Ctrl + F12 |
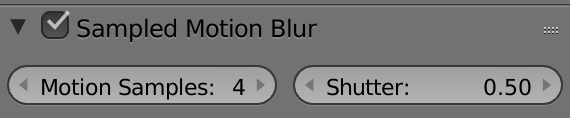
Adding motion blur
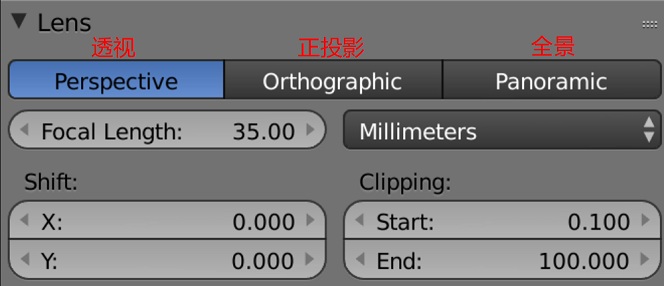
Creating depth of field
Camera-focus effect
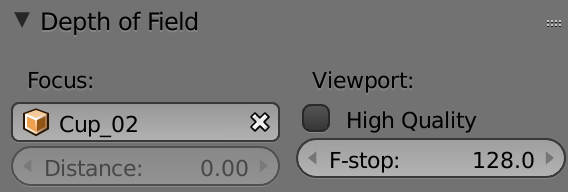
+
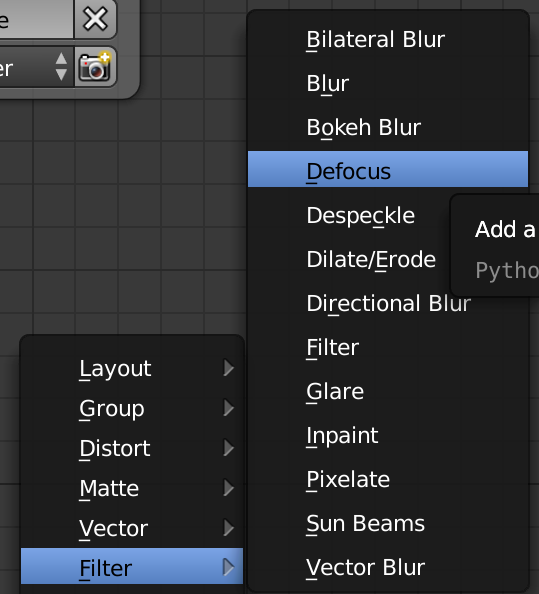
Defocus filter Node
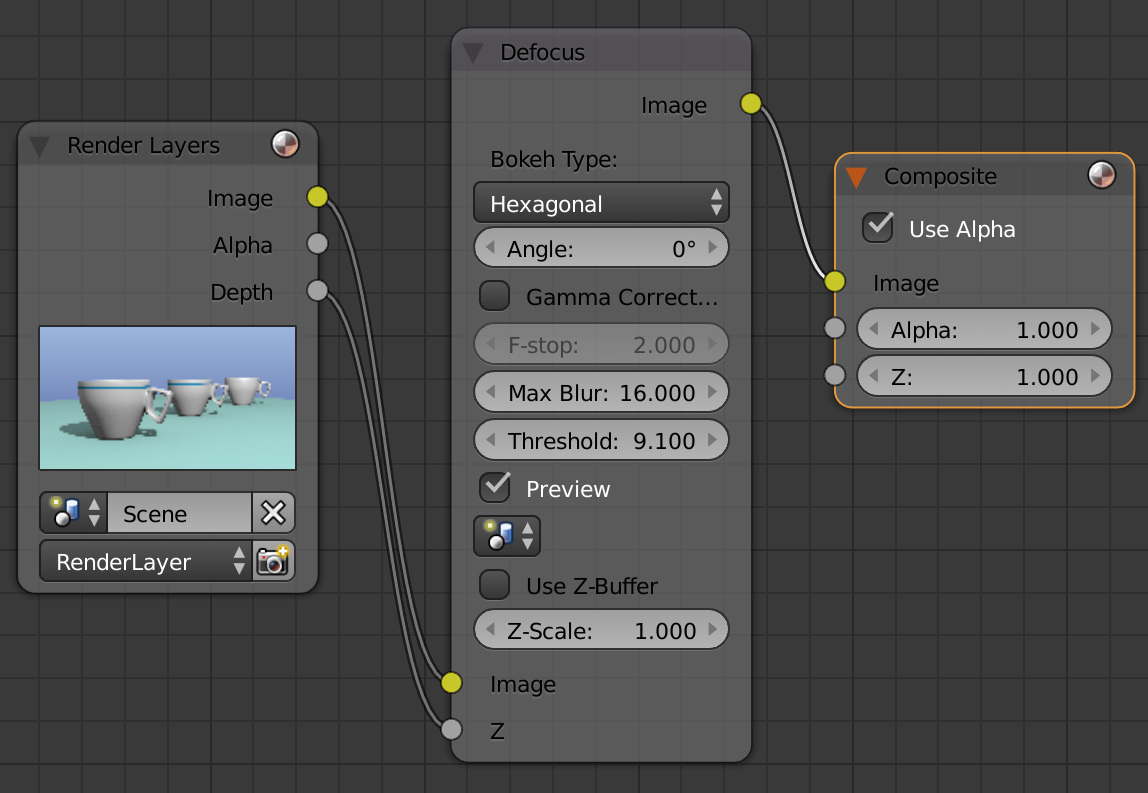
F-stop: lower, the more depth of field we get
Threshold: The width of focal area
Basic Animation
Understanding the Timeline
| Function | ShortCut Keys |
|---|---|
| Zoom Timeline | Scroll Middle Mouse Button Ctrl + Middle Mouse Button + Drag |
| Pan Timeline | Shift(Optional) + Middle Mouse Button + Drag |
Animating objects
| Function | ShortCut Keys |
|---|---|
| Insert keyframes | Hover over the property and Press i key |
Animating properties
Editing animation in the Graph Editor
| Function | ShortCut Keys |
|---|---|
| Interpolation mode | Press T key in Graph Editor |
Using the Dope Sheet
动画摄影表
| Function | ShortCut Keys |
|---|---|
| Mode keyframe | Right click and drag |
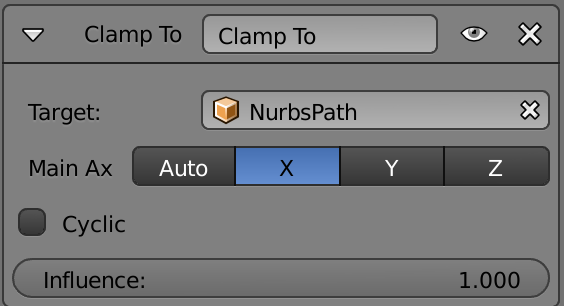
Path animation
Add -> Curve -> Path
Constraint -> Clamp to
Character Rigging
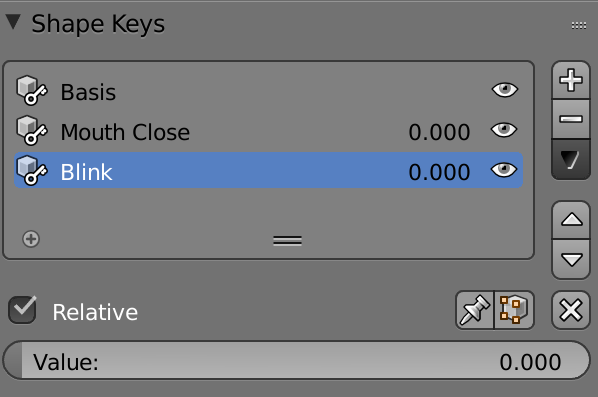
Facial animation using shape keys
Add shape key and edit model in the Editor mode
Understanding armatures
Pose Mode: For animation
Edit Mode: Edit bones
Fitting an armature to a creature
| Function | ShortCut Keys |
|---|---|
| Rename Bones | Ctrl + Click |
| Extrude Bone’s model | Press E key |
Deforming a character with an armature
| Function | ShortCut Keys |
|---|---|
| Rename Bones | Select Mesh and then select armature, Ctrl + P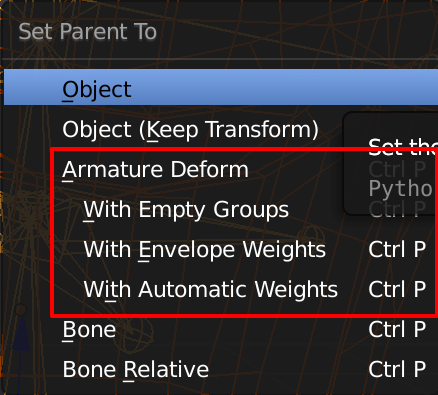 |
Pose Mode, Solid mode & X-Ray(Display), rotate the bone
Lock down some properties in Transform panel as you wish
Setting up inverse kinematics
Pose Mode -> Bone Constraints -> Inverse Kinematics:
Controlling the hips and body
Add a circle curve as parent of bones
Animating in Pose mode
Insert Keyframes
Creating a test animation
Keyframes + Shape keys
Rendering in Cycles
Interactive rendering in cycles
Cycles Render
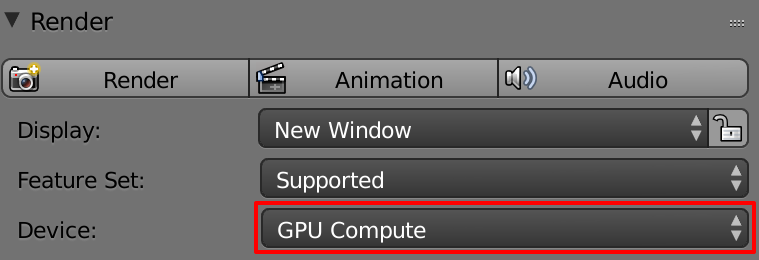
Render settings for cycles
- Render
- Dimensions
- Metadata
- Output
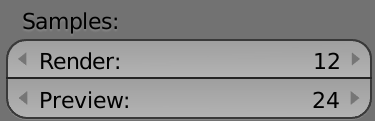
- Sampling
- Light Paths
- Performance
Create basic materials in cycles
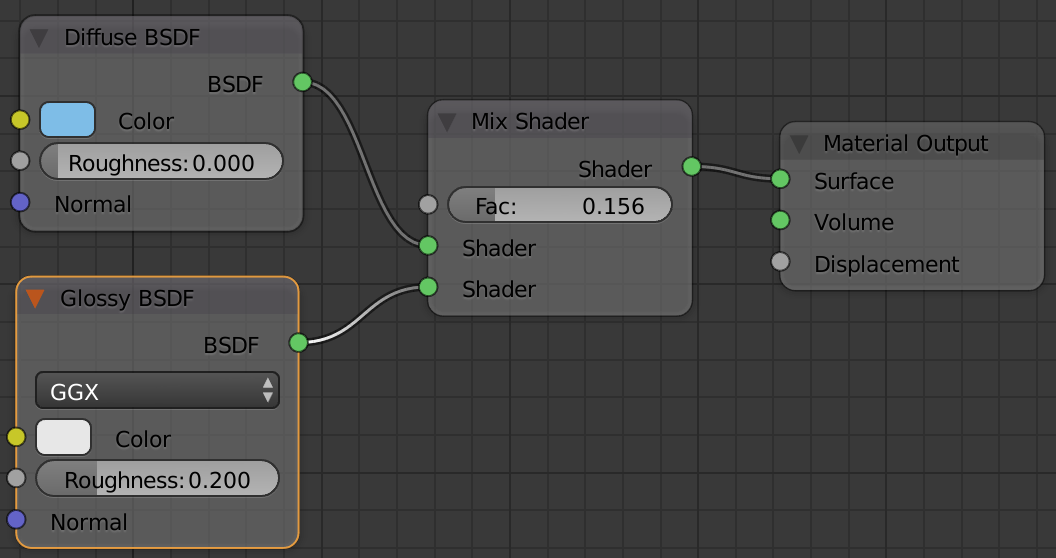
Using the Node Editor to refine materials
Mix Shader
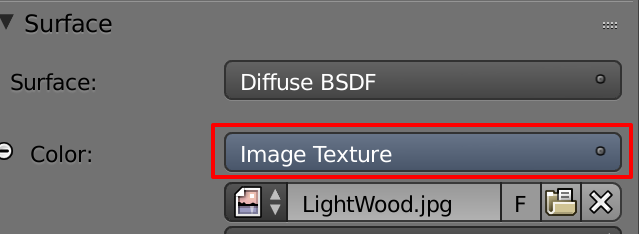
Working with image maps
Create bumps and deplacemenets
Material -> Displacement -> Voronoi Texture (泰森多边形材质)
Use Bright/Contrast node to adjust contrast
Create lights in cycles
Working wih ambient occlusion in cycles
Create object-based lighting in cycles
Emission Surface in material
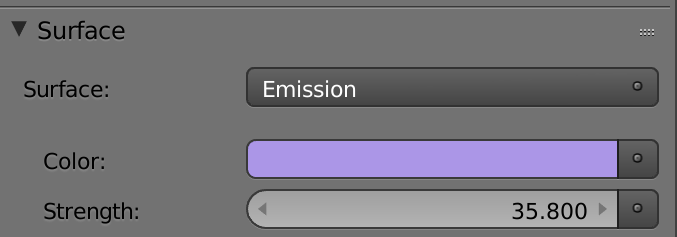
Image-based lighting in cycles
hdr image
Using environment lighting in cycles
World -> Surface: Background -> Color: Environment Texture
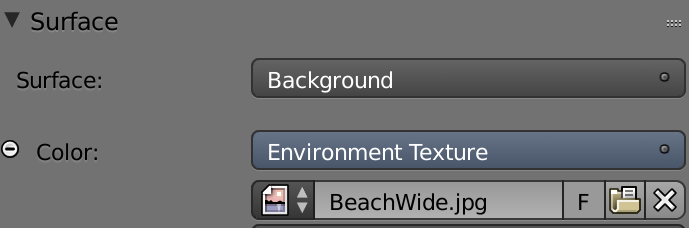
Lighting a scene in cycles
Instead of using Background shader on surface, use Bright/Contrast shader with Environment Texture